Unboxing my TAP (Thin Air Press)
I ordered all my supplies from Roarockit and they arrived on Friday. I quickly had a chance to open them up and take a look inside the day the arrived.

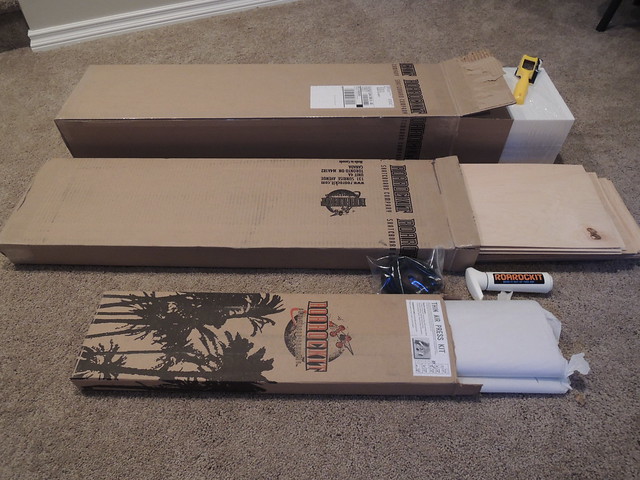
Today I got a chance to really dig in and take a look at what I received. For this project I ordered the 20 x 70″ TAP (thin air press), 4 sets of street deck maple veneer and two foam shaping blocks. I placed the order on a Tuesday and everything was shipped and delivered by Friday. They even included a UPS shipping code so that I could track delivery which was awesome.
The options for materials available through the Roarockit site are great. I debated choosing the Roarockit Street Deck Triple Kit but it seemed like cheating to get pre-shaped decks. However if I weren’t building these decks as a sculpture that would be a great way to go. The kit is awesome and at some point in the future I may use the pre-shaped decks as a teaching tool. It would be an awesome project for the right student(s). The pre-shaped kit also comes with glue, sandpaper, a roller and a few other items that I already had. I saved a little by ordering the uncut veneers and foam blocks and I also upgraded to the larger bag as the one that comes with the kit only does street decks and I think I will use the bag for other projects in the future (maybe another sculpture or a custom kid sized long board for my daughter). This also brings up a great point. After hours of research the Roarockit company is hands down the most cost effective way to DIY your own custom laminated skateboard deck. The materials they send you are the same price you’d pay in a local store and in some cases cheaper. The Stanley surform shaper that they ship is less then I could find it for in any local hardware stores. Also the more veneers you order the less they are per set. In fact I ordered 4 sets for the cost of 2 if I had ordered them individually. Plus 1/16″ maple veneer is only really cut for the skateboard industry so is particularly difficult to find if you aren’t a large manufacturer. Roarockit is often acknowledged as being one of the only places to supply veneers to the DIY skateboard industry in North America. For more about Roarockit’s veneer check out their FAQ page.
Here is a breakdown of what I finally ordered from them and what it looks like out of the box:
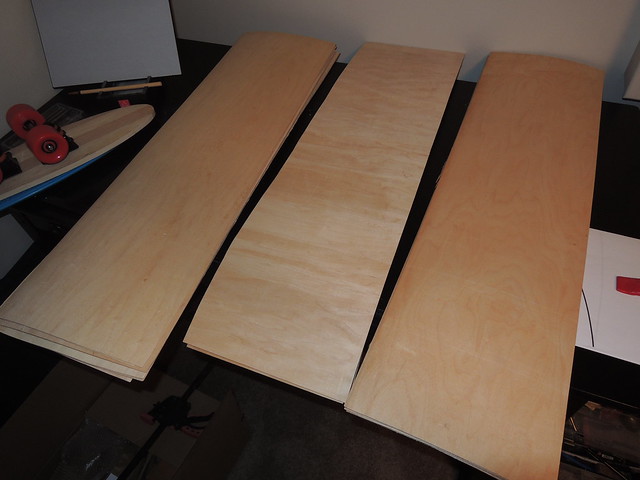
Veneer (I sorted it by cross-grain, core and face sheets):
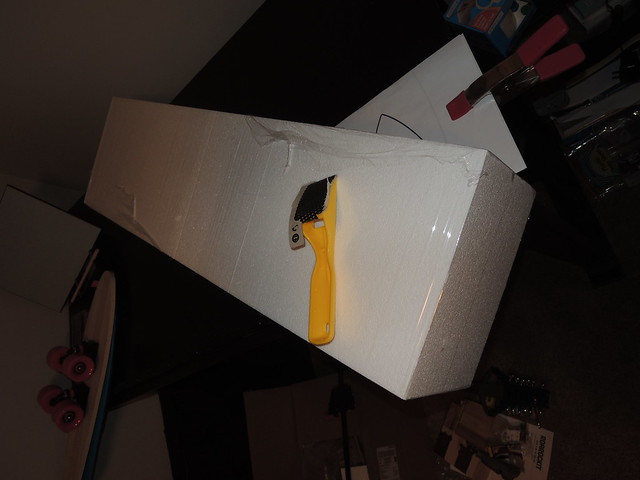
Foam Molds and SurForm Tool:
TAP Bag:

Now that I have my hands on the product it’s time to start building the first board in my sculpture. I think, for the sake of having everything line up and for getting the hardest part done first, I will start with my spiralled board first. I did a quick test to see if I could get a full turn out of the board and I think I should be fine. I found that I have a foam roller that should work great for wrapping and clamping to get a nice spiral. I have read so much about Roarockit and hand shaping I can’t remember where I read it but somewhere it was written or said if you can bend one piece of veneer to the shape without it wrecking then with some patience and work you can make the same shape from the veneers once their in the bag. Just to give you a quick idea of what you can do with the vacuum bag here is a video of Ted from Roarockit shaping boards for a flower inspired sculpture:
Here’s a photo of Ted’s sculpture:

Next step: My first laminated skateboard!

One thought on “Final Project (Part 2)”